Geode Geometry Dash modding is not only about installing other people's work. The same SDK that powers nearly a thousand mods in the official index is open to anyone willing to learn some C++. If you have ever wished a menu had one more button or the editor had one more shortcut, building your own Geode mod is how that wish becomes a .geode file.
This tutorial is a guided path through the official Geode getting started docs. It explains each step in plain language, shows which tools you need on each operating system, and points out the traps beginners hit. It does not replace the docs: commands and requirements change between releases, so always follow the official pages when they differ from this summary. We are an unofficial guide, not the Geode team.
Version Note for Mod Developers
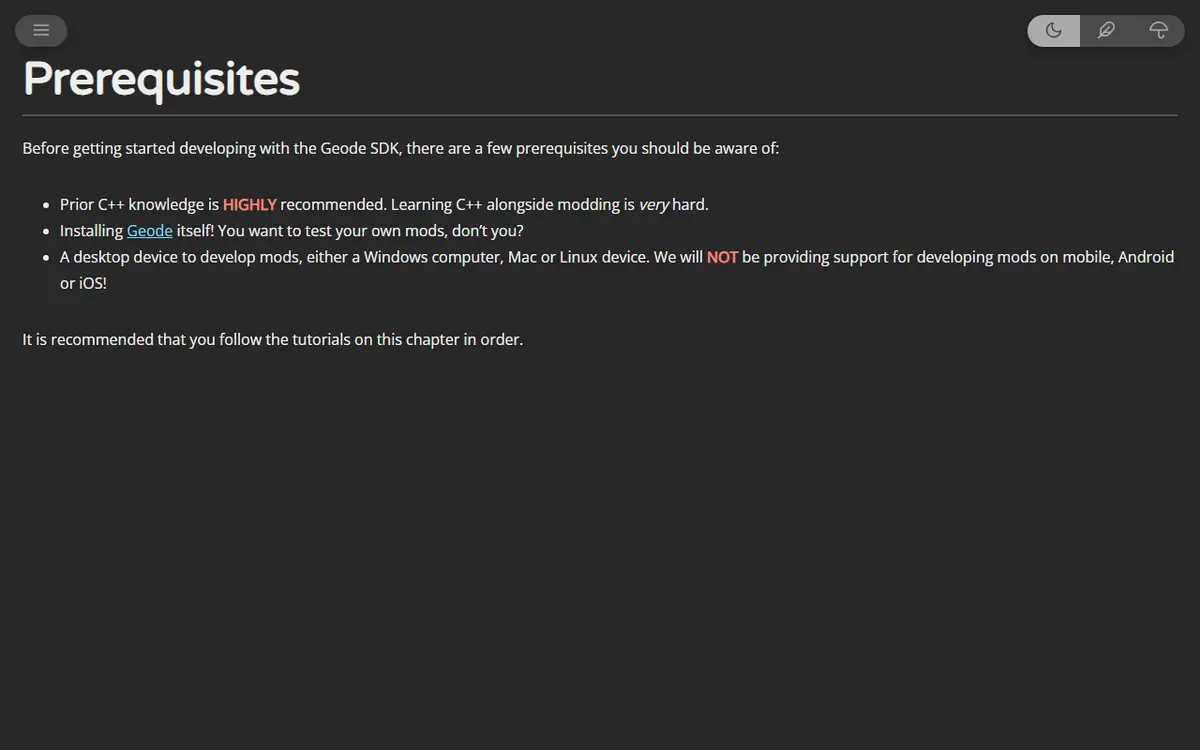
Timing matters right now. As of November 5, 2026, the latest stable Geode is v5.11.2, which targets GD 2.2081. Geode v6.0.0-alpha.1, released November 1, 2026, brings GD 2.2091 support and is explicitly an alpha "meant for developers". Its release notes list big changes, including a reworked keybind system, new UI helpers and a minimum Geode CLI version of 4.0.0 (the CLI's latest release is v4.0.0, published October 30, 2026). If you are starting today, read the official v6 migration docs so you know which APIs are moving.
The Official Getting Started Path
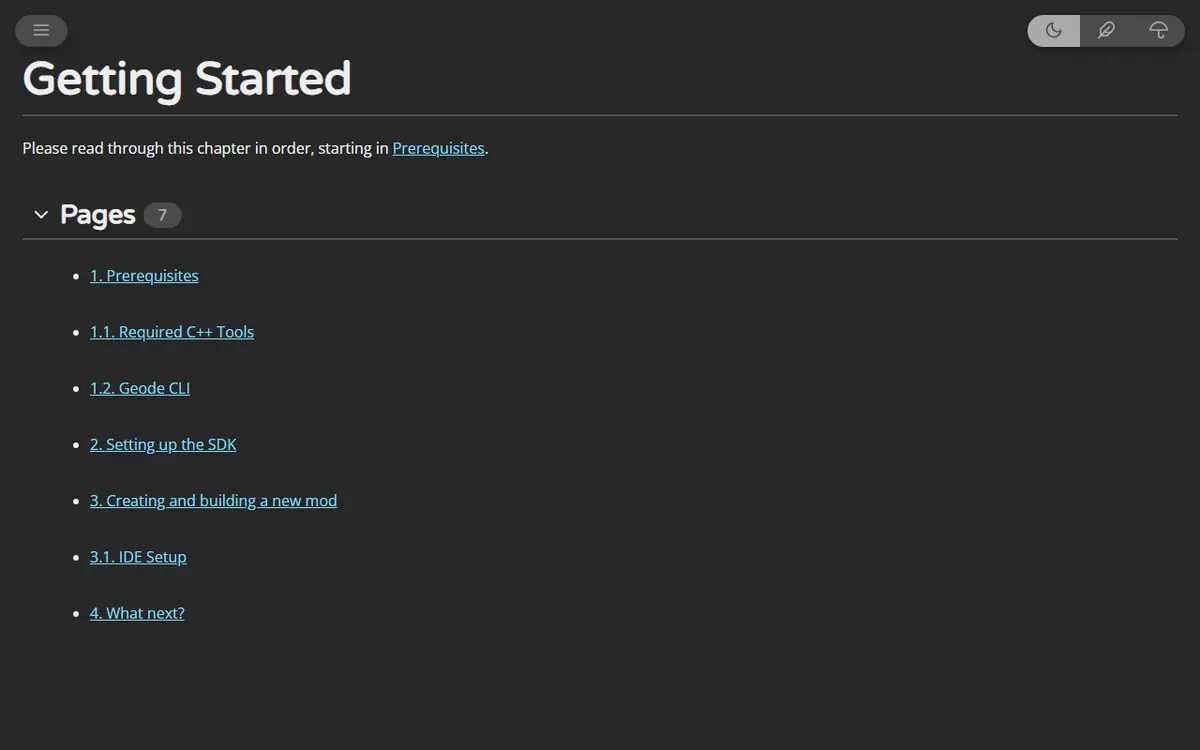
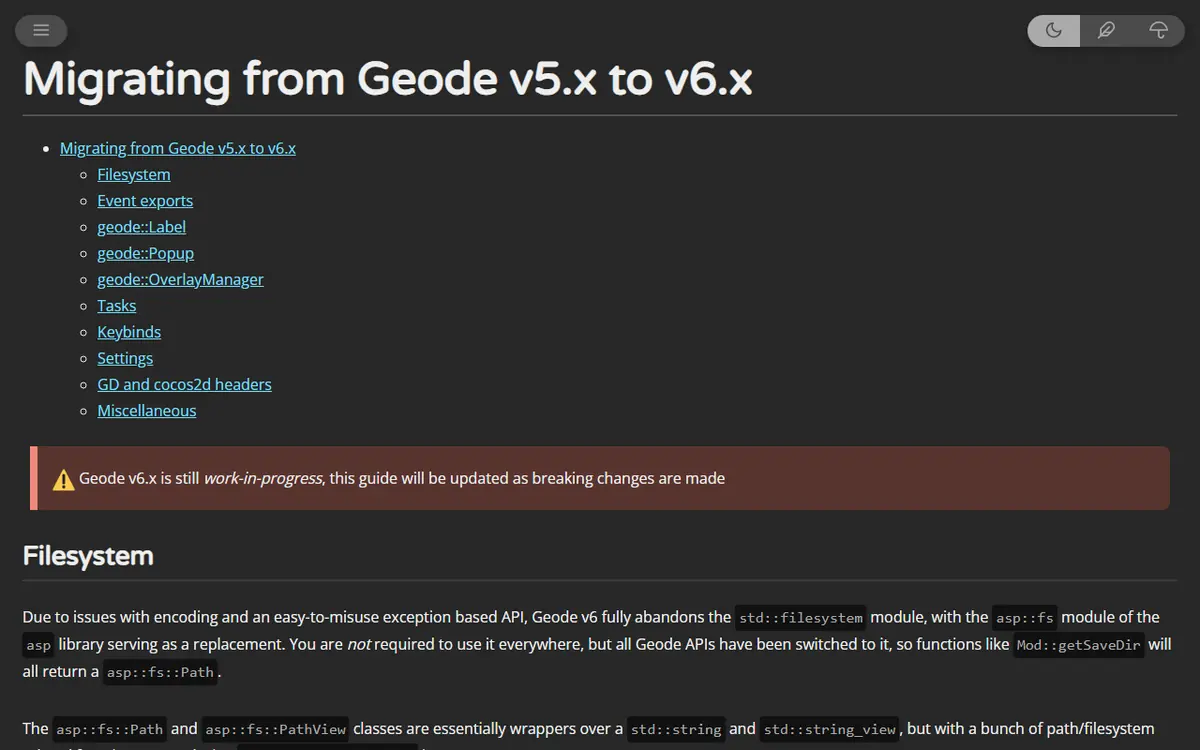
The docs ask you to read the chapter in order, starting with Prerequisites. The pages are:
- Prerequisites
- Required C++ Tools
- Geode CLI
- Setting up the SDK
- Creating and building a new mod
- IDE Setup
- What next?
Before any of that, you need a working Geode install in the full game so you can test your mod. Our Geode PC install guide covers Windows.
Before You Code: Pick a Small First Idea
The most common reason first mods stall is scope. A full mod menu or an editor overhaul is a months-long project; a first mod should take an evening or two. Good beginner ideas share three traits:
- One visible change. Adding a button to a menu, changing a label, or showing a small piece of extra information is easy to test because you can see it immediately.
- One screen. Touching a single part of the game, such as the main menu, keeps the amount of game code you need to understand small.
- No online features. Servers, accounts and multiplayer add a whole layer of complexity and risk. Leave them for later.
Write your idea down in one sentence before you install anything. If the sentence needs the word "and" more than once, cut it down. You can always extend a working mod; it is much harder to rescue an unfinished giant one.
How mods reach players
It helps to know where your work ends up. Players install mods from the in-game Geode menu, which reads the official index at geode-sdk.org/mods (985 mods on November 5, 2026). Each listed mod shows its about.md description and logo.png icon, lists its version and supported platforms, and can depend on other mods such as Node IDs, which Geode installs and loads first. Thinking about that page early helps you write a clear description and pick the platforms you will actually test.
Step 1: Install the Required C++ Tools
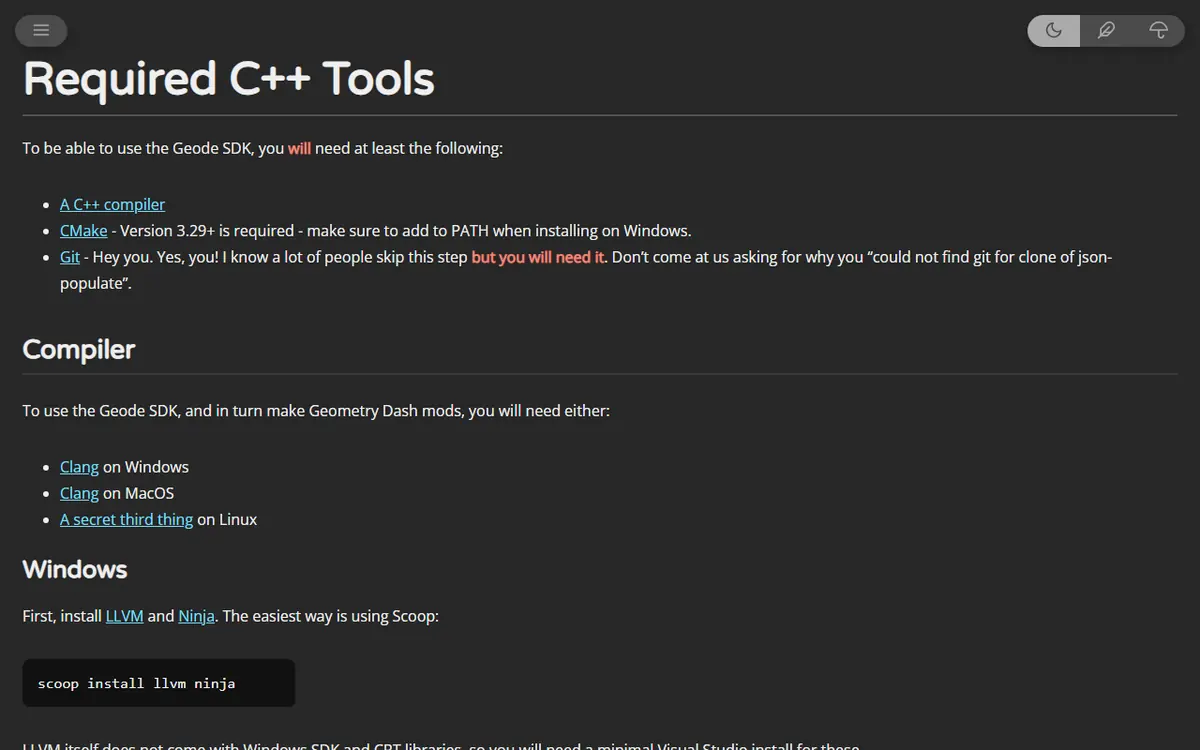
Geode mods are C++ projects built with CMake. The docs list different toolchains per operating system:
| Platform | Compiler and tools | Install hint from the docs | Notes |
|---|---|---|---|
| Windows | Clang (LLVM) + Ninja, plus minimal Visual Studio | scoop install llvm ninja | Visual Studio 2022 or higher is required for SDK/CRT libraries; MSVC alone is not recommended |
| macOS | Clang from LLVM | brew install llvm | Installed with Homebrew |
| Linux | clang, lld, llvm, cmake, git | Your package manager, then geode sdk install-linux | Cross-compiles Windows mods; clang 19 minimum, 21+ recommended |
| All | CMake and Git | CMake 3.29 or newer | Skipping Git causes clone failures; on Windows add CMake to PATH |
The Linux route exists because, as the docs put it, there is no official Linux release of GD yet, so you build Windows mods and test them through Wine or Proton. Our Steam Deck and Linux guide covers running the game that way.
Step 2: Install the Geode CLI
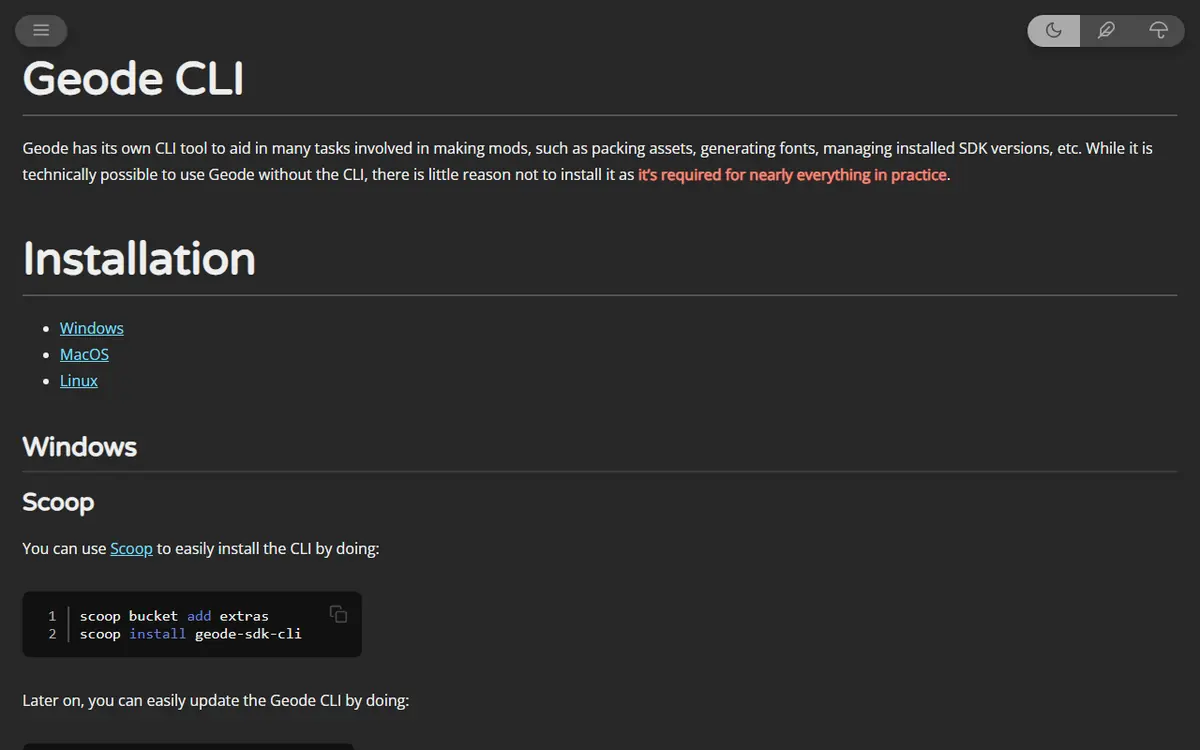
The Geode CLI is the command-line tool that creates projects, manages the SDK and builds mods. Its source lives in the official geode-sdk/cli repository. The docs give these install routes:
- Windows (WinGet):
winget install GeodeSDK.GeodeCLI - Windows (Scoop):
scoop bucket add extras, thenscoop install geode-sdk-cli - macOS (Homebrew):
brew install geode-sdk/geode/geode-cli - Linux: download the prebuilt binary from the CLI releases page and add it to your path.
Confirm it works with geode --version. If that fails on Windows, restart your terminal or computer. A manual install on Windows is possible but not recommended by the docs.
Create a profile
A profile tells the CLI where a Geometry Dash installation lives. Run geode config setup to create one, or geode profile add if you already have another Geode-enabled install. You need at least one profile so freshly built mods can be installed automatically.
Step 3: Set Up the SDK
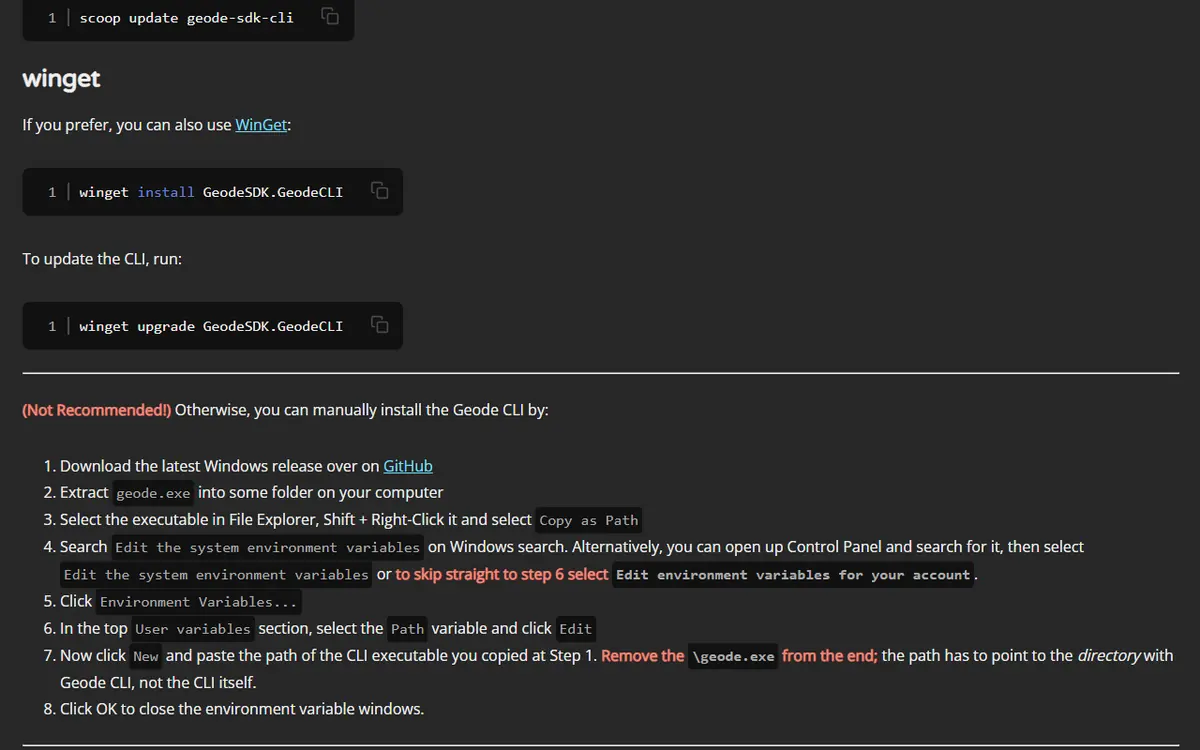
Next, the Setting up the SDK page walks you through getting the Geode SDK onto your machine with the CLI. Follow it exactly, since SDK versions must match the Geode version you are targeting. This is also where the v5 versus v6 choice becomes concrete.
Step 4: Create Your Mod With geode new
Open a terminal in the folder where you keep projects and run geode new. Answer the prompts and the CLI creates a folder for your mod containing:
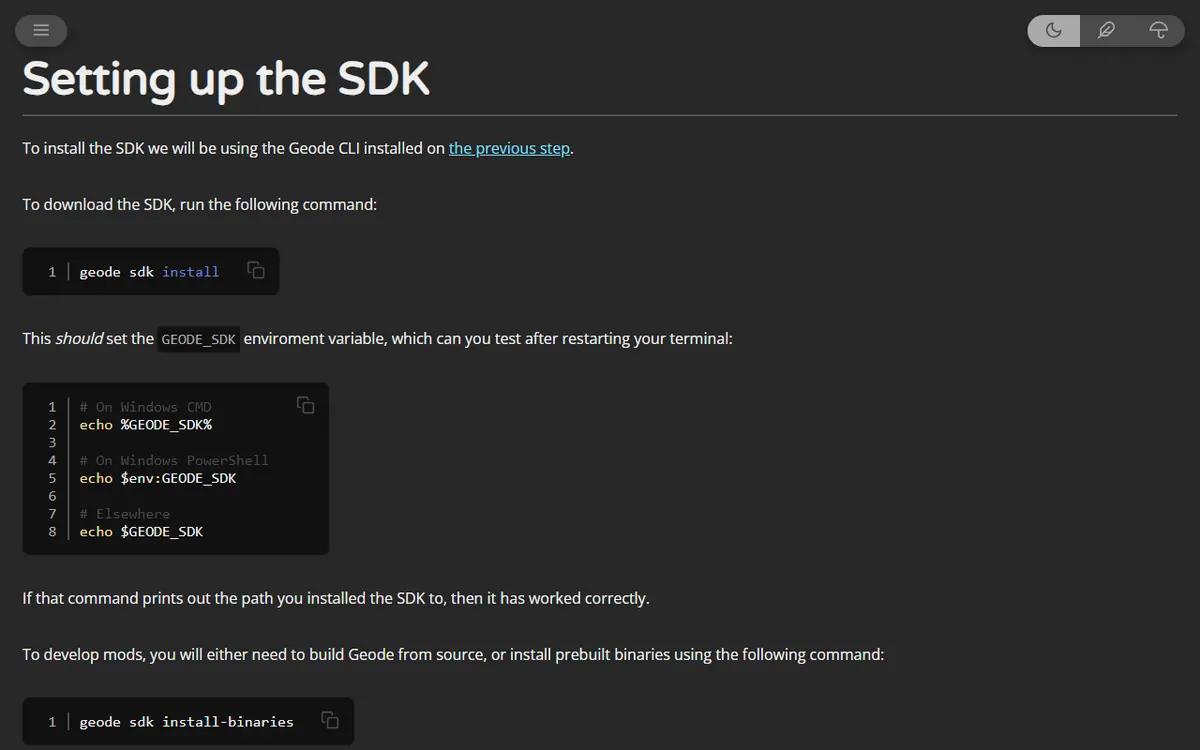
CMakeLists.txt: the main CMake project file.mod.json: metadata such as name, version, custom resources and settings.src/: your mod's source code.about.md: a long description, similar to a README (optional but recommended).logo.png: the in-game icon (optional but recommended).- Optional
changelog.mdandsupport.md, which Geode also reads.
Update about.md and logo.png before you share the mod, because players see them in the mod browser.
Step 5: Build the .geode File
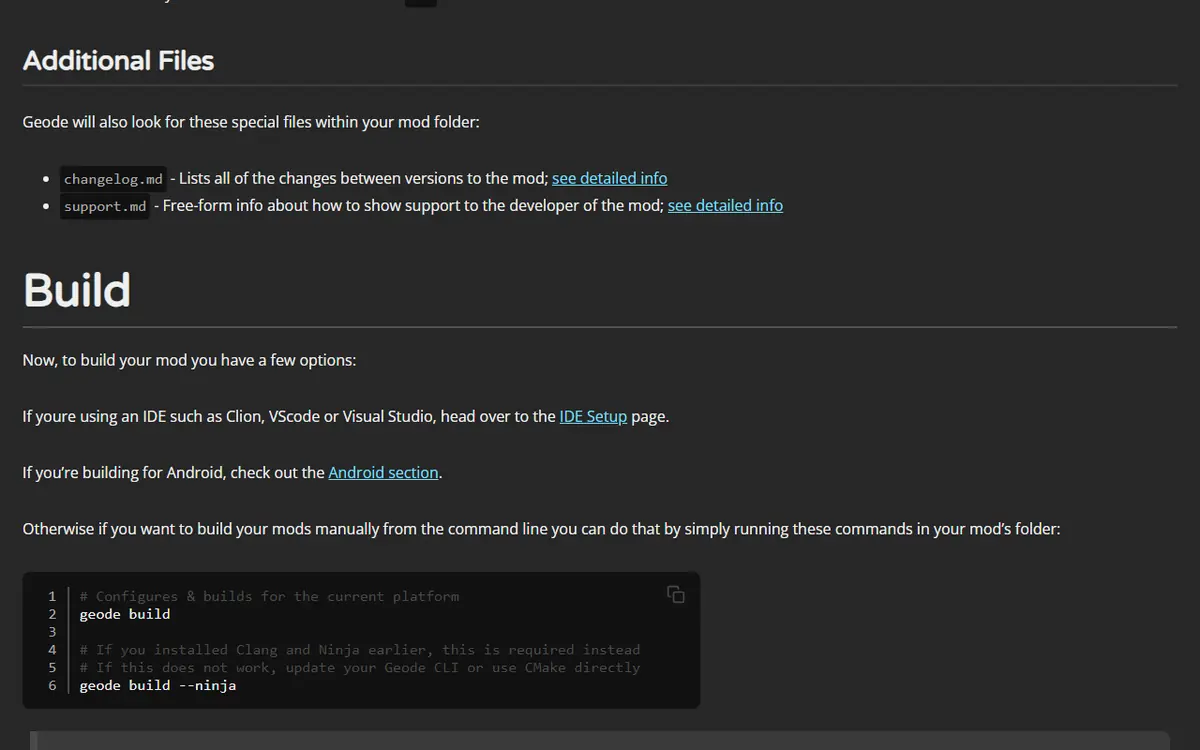
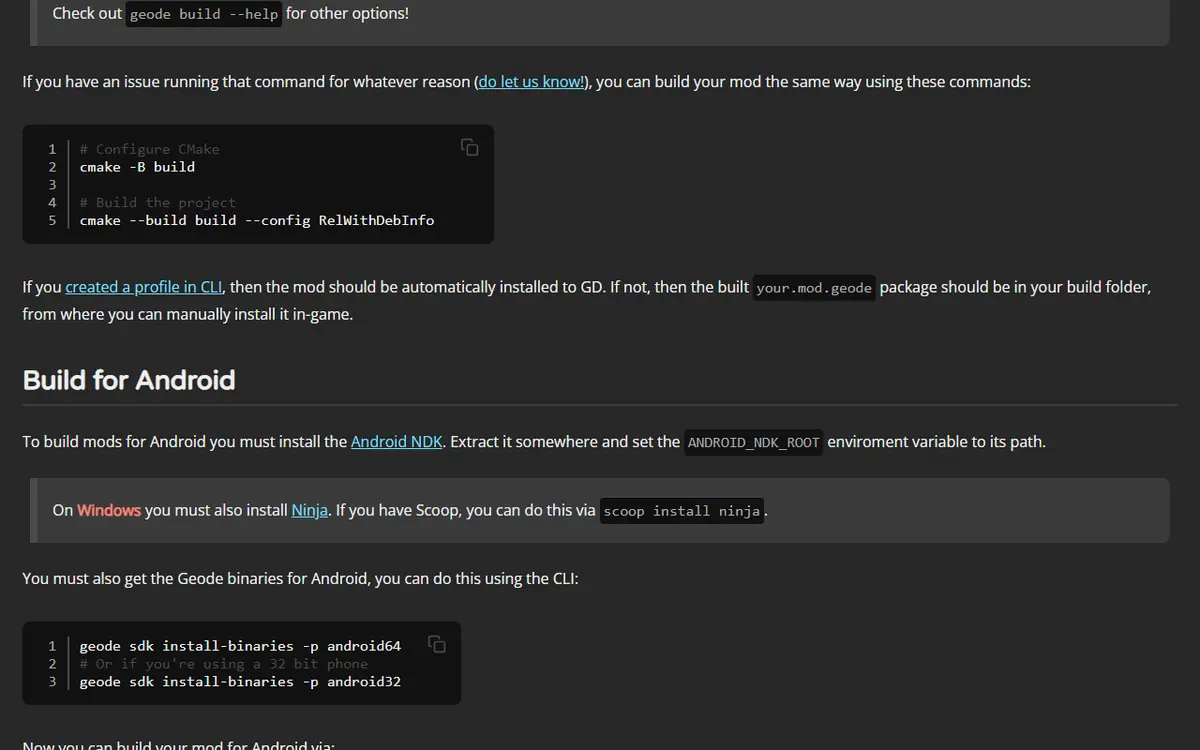
Inside your mod's folder, run geode build. If you installed Clang and Ninja, the docs suggest geode build --ninja, and geode build --help lists other options. If the CLI build fails, the manual fallback is:
cmake -B build followed by cmake --build build --config RelWithDebInfo
The output is a .geode package in the build folder. With a CLI profile set up, it installs into your game automatically; otherwise copy it into geode/mods yourself. Launch Geometry Dash, open the Geode menu and look for your mod in the installed list.
A simple edit-build-test loop
Most of your time will be spent in a short loop: change one thing in src/, run the build, launch the game, check the result, close the game. Keep the loop tight. Change one thing per build so a crash points straight at the line you touched, and keep a terminal open in the project folder so rebuilding is a single command. If the game will not start after a change, launch in Safe Mode, which loads no mods, then fix the code and build again.
Building for Android
The docs describe an Android path too: install the Android NDK and set ANDROID_NDK_ROOT, install Ninja on Windows, run geode sdk install-binaries -p android64 (or android32), then geode build -p android64. Copy the resulting file from build-android64 to /storage/emulated/0/Android/media/com.geode.launcher/game/geode/mods/ on the phone.
Tools That Help While You Learn
The Geode Team's DevTools mod ("Developer tools for Geode", version 1.14.0 in the index) helps you inspect the game's interface while you work out which parts to hook. The IDE Setup page covers CLion, VS Code and Visual Studio. Studying how popular open-source mods are organised is also useful; our Geode guide for level creators lists editor mods whose repositories you can read.
Platform Notes
- Windows: the most common development platform; Clang plus a minimal Visual Studio is the documented setup.
- macOS: LLVM through Homebrew; test with the Steam version of GD.
- Linux: cross-compile Windows mods after
geode sdk install-linux. - Android: build on your computer with the NDK, then copy the file to the phone.
Troubleshooting Your First Build
| Symptom | Likely cause | What to try |
|---|---|---|
geode not recognised | CLI not on PATH yet | Restart the terminal or computer, then run geode --version |
| Clone or download errors | Git missing | Install Git, as the docs require |
| CMake version error | CMake older than 3.29 | Update CMake (Linux docs point to the Kitware repository) |
| CLI build fails | Toolchain mismatch | Try the manual CMake commands and re-read Required C++ Tools |
| Mod not in the game | No profile, or wrong GD version | Run geode config setup; match SDK and game versions |
| Game crashes on launch | Bug in your hook | Hold Shift while launching (Windows, Mac) to start in Safe Mode, then fix and rebuild |
When GD updates, expect your mod to need a rebuild. Our update cycle and rollback plan explains how the ecosystem recovers after each release.
Safety and Good Habits
Install the CLI only through the documented package managers or the official releases, and the SDK only through the CLI. Never test unknown mods on your main save without a backup. Keep your project in Git so you can roll back. Finally, read the official source rather than third-party copies: the Geode GitHub guide shows how to recognise the real geode-sdk repositories. With those habits, your first Geode Geometry Dash mod can grow into something other players install from the index.
Frequently Asked Questions
Do I need to know C++ to make a Geode mod?
Yes. Geode mods are written in C++ and built with CMake. The official docs start with a prerequisites page, so read it first if you are new to C++ or command-line build tools.
Which compiler does Geode recommend on Windows?
The docs recommend Clang from LLVM with Ninja, installed through Scoop, plus a minimal Visual Studio 2022 or newer install for the Windows SDK and CRT libraries. They do not recommend building with MSVC alone.
Can I make Geode mods on Linux?
Yes, by cross-compiling Windows mods. Install clang, lld, llvm, cmake and git, install the Geode CLI, then run geode sdk install-linux. The docs note GD has no official Linux release, so mods target the Windows build.
What file does a Geode build produce?
A .geode package in your build folder. If you created a profile with geode config setup, the CLI installs it into that Geometry Dash automatically; otherwise you copy it into the geode/mods folder yourself.
Should I build my first mod for Geode v5 or v6?
As of November 5, 2026, the stable release is v5.11.2 for GD 2.2081, while v6.0.0-alpha.1 adds 2.2091 support for developers. Check the official docs and migration guide before choosing, since v6 changes APIs.
How do I publish my mod to the official index?
The getting-started chapter ends with a “What next?” page that points to further topics. Read the official docs for current publishing rules rather than third-party advice, because the process and requirements can change.
